+86-755-2301-3143

Die-cutting process for copper foil adhesive tapes

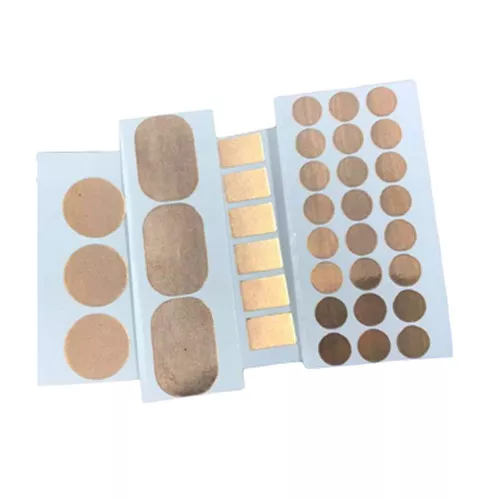
Custom die-cut copper foil tape

The die cutting process of copper foil adhesive tape is the process of cutting copper foil adhesive tape into specific shapes and sizes through moulds. The following are the general steps of the die-cutting process:

  1. Mould: According to the shape and size of the copper foil tape to be cut, design the corresponding mould. The moulds can be made with steel knives, laser knives or etching knives.
  2. Material: Prepare the copper foil adhesive tape material and make sure its surface is clean and flat.
  3. Installation: Install the designed mould to the die cutting machine and adjust the position and pressure of the mould.
  4. Die-cutting: Place the copper foil adhesive tape material under the mould, start the die-cutting machine and cut the copper foil adhesive tape into the required shape and size by the pressure of the mould.
  5. Inspection: Check whether the cut copper foil adhesive tape meets the requirements, if any defective products need to be cleaned up and disposed of in time.
  6. Packing: Pack the qualified copper foil adhesive tape for storage and transport.

In the process of die-cutting, the following points need to be paid attention to:

  1. Choose suitable mould material and production process to ensure the precision and durability of the mould.
  2. Adjust the pressure and speed of the die cutting machine to ensure the quality and efficiency of cutting.
  3. Keep the surface of copper foil adhesive tape material clean to avoid dust and impurities affecting the cutting effect.
  4. Regularly check and maintain the die cutting machine and mould to ensure their normal operation.

The above is the general copper foil adhesive tape die cutting process steps, the specific process may vary depending on different product requirements and equipment

Request a Free SampleAsk Now:

    Related products

    Copyright © 2024-copper-tapes- All Rights Reserved

    smartphone